Free online striped image maker. Just drag and drop your image here and it will automatically turn into multiple vertical or horizontal strips. You can split your image into any number of strips, as well as set a fixed or random distance between them and add various stripe effects (waves, zigzags, and more). Created by engineers from team Browserling.
Free online striped image maker. Just drag and drop your image here and it will automatically turn into multiple vertical or horizontal strips. You can split your image into any number of strips, as well as set a fixed or random distance between them and add various stripe effects (waves, zigzags, and more). Created by engineers from team Browserling.

This tool slices an image into individual strips and creates a composition of stripe patterns on a colorful or transparent background. It can cut an image horizontally or vertically and generate any number of strips (the number of strips can be set in the options). To create a beautiful composition, you can scatter the strips at a fixed or random distance from each other. For fixed spacing, use the same value for the minimum and maximum distance between the strips. For example, if you set the minimum and maximum distance equal to 10, then all strips will be positioned exactly 10 pixels apart. For random placement, use a range from the smaller value (enter it in the minimum distance option) to the larger value (enter it in the maximum distance option). For example, if you set the minimum distance to 5 and the maximum distance to 15, then the strips will be placed from 5 to 15 pixels from one another. After dispersing the strips, you can also add oscillations in one of the directions. For instance, if you have horizontally sliced strips, you can make them shift along the horizontal line by a certain offset. Similarly, if you have vertical strips, you can position them at different height offsets. The amount of these shifts (amplitude) can be specified in the offset-distance option. For example, if the value is 100, it means that the distance between the highest and the lowest strip positions will be no more than 100 pixels. You can also choose a trajectory along which the shift occurs. Options include random shifts, linear shifts, alternating shifts, sine wave shifts, and cosine wave shifts. When the strips are drawn on the screen, you can also fill the background with any color or leave it transparent. Additionally, you can add padding around the edges of the image and select the download format for the final image. Image-abulous!
This tool slices an image into individual strips and creates a composition of stripe patterns on a colorful or transparent background. It can cut an image horizontally or vertically and generate any number of strips (the number of strips can be set in the options). To create a beautiful composition, you can scatter the strips at a fixed or random distance from each other. For fixed spacing, use the same value for the minimum and maximum distance between the strips. For example, if you set the minimum and maximum distance equal to 10, then all strips will be positioned exactly 10 pixels apart. For random placement, use a range from the smaller value (enter it in the minimum distance option) to the larger value (enter it in the maximum distance option). For example, if you set the minimum distance to 5 and the maximum distance to 15, then the strips will be placed from 5 to 15 pixels from one another. After dispersing the strips, you can also add oscillations in one of the directions. For instance, if you have horizontally sliced strips, you can make them shift along the horizontal line by a certain offset. Similarly, if you have vertical strips, you can position them at different height offsets. The amount of these shifts (amplitude) can be specified in the offset-distance option. For example, if the value is 100, it means that the distance between the highest and the lowest strip positions will be no more than 100 pixels. You can also choose a trajectory along which the shift occurs. Options include random shifts, linear shifts, alternating shifts, sine wave shifts, and cosine wave shifts. When the strips are drawn on the screen, you can also fill the background with any color or leave it transparent. Additionally, you can add padding around the edges of the image and select the download format for the final image. Image-abulous!
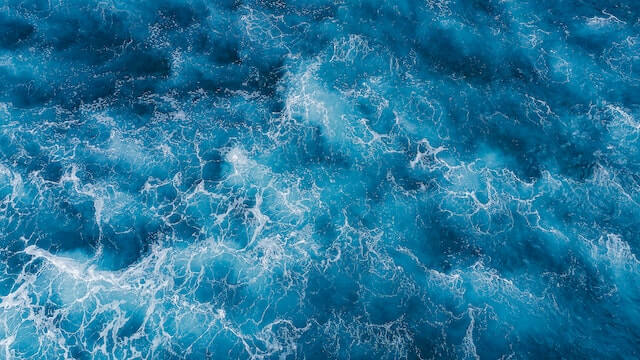
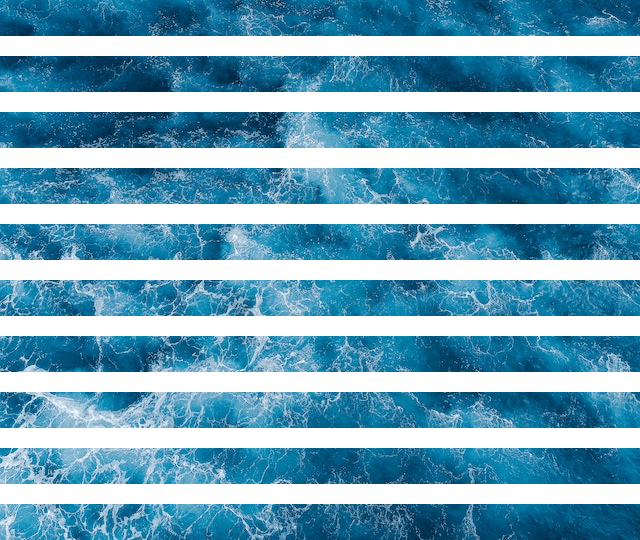
In this example, we cut an image of a wavy sea into 10 equal-sized horizontal strips and place them at a fixed distance from each other, which is set to 20 pixels. We make the background between the strips transparent and set zero padding around the image. (Source: Pexels.)
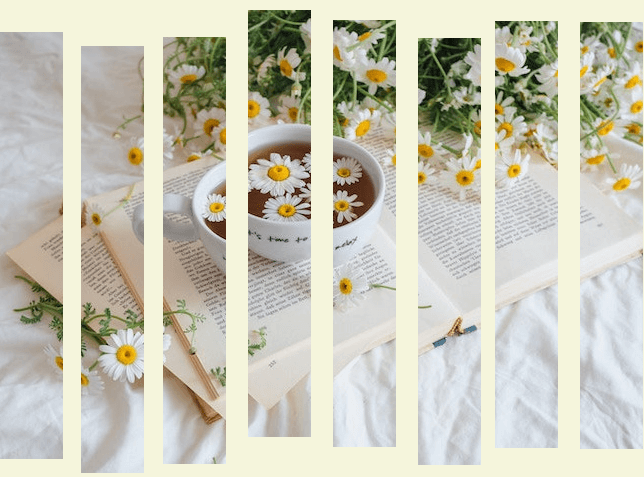
In this example, we create a vertically-striped image with random stripe positions. To achieve this, we select the vertical cutting mode, specify that 8 strips should be cut, set an uneven distance between them ranging from 6 to 20 pixels, and additionally, add random vertical shifts to the strips with a maximum offset of 50 pixels. (Source: Pexels.)
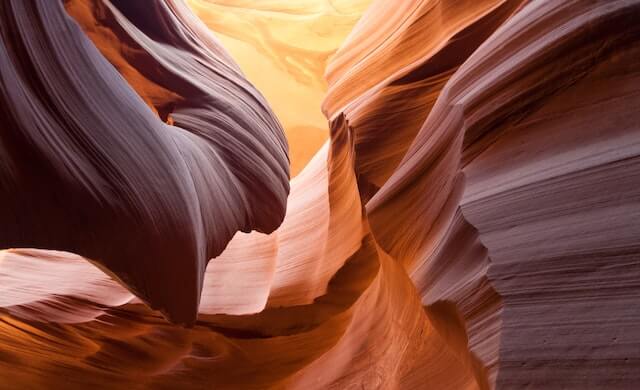
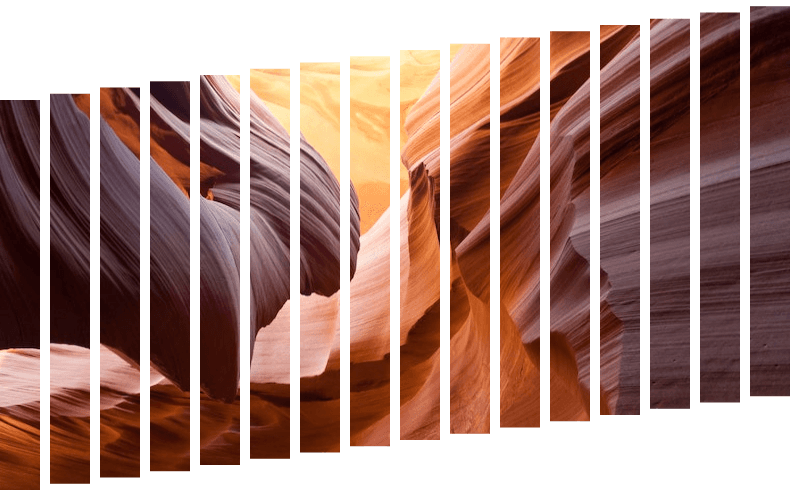
In this example, we transform a single image of a desert canyon into an image composed of 16 vertical stripes. We set an equal distance between the stripes, which is 10 pixels, and add a linear vertical shift to them. The vertical shift starts at the bottom and reaches the maximum offset of 100 pixels. (Source: Pexels.)
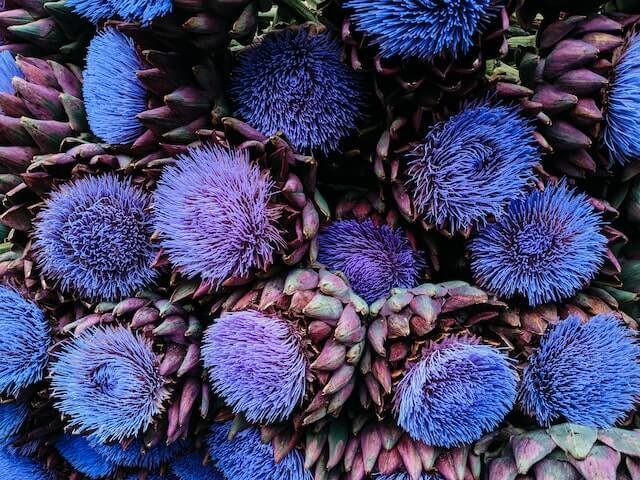
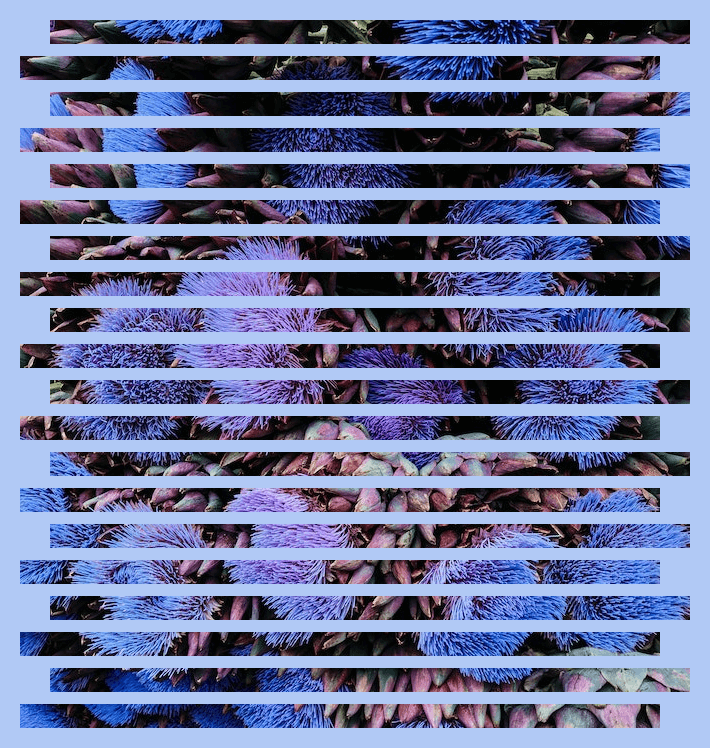
This example splits an image of artichoke flowers into long strips and arranges them in an alternating stripe pattern. It creates 20 horizontal strips spaced 12 pixels apart and distributes every other stripe 30 pixels to the left or right from the previous one. It also adds a semi-transparent fill to the image and 20px padding around the edges. (Source: Pexels.)
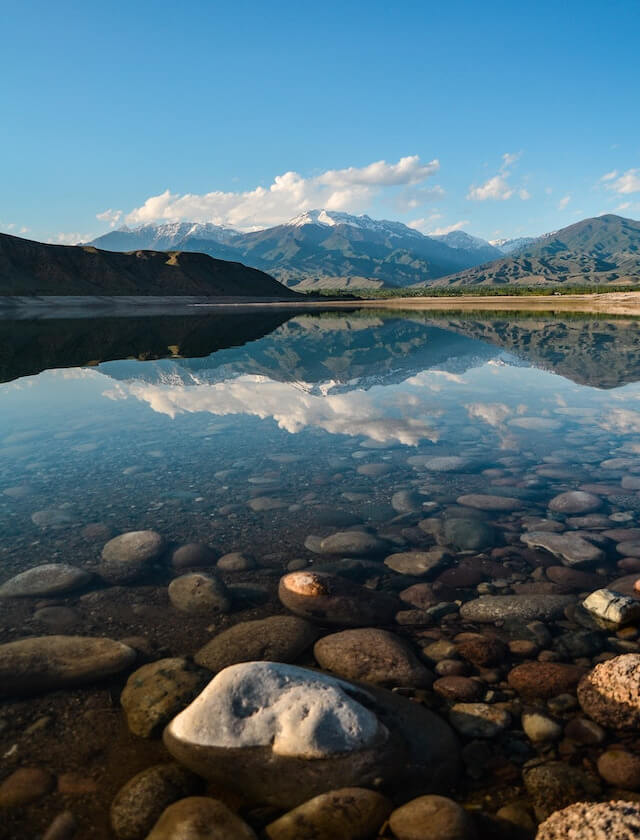
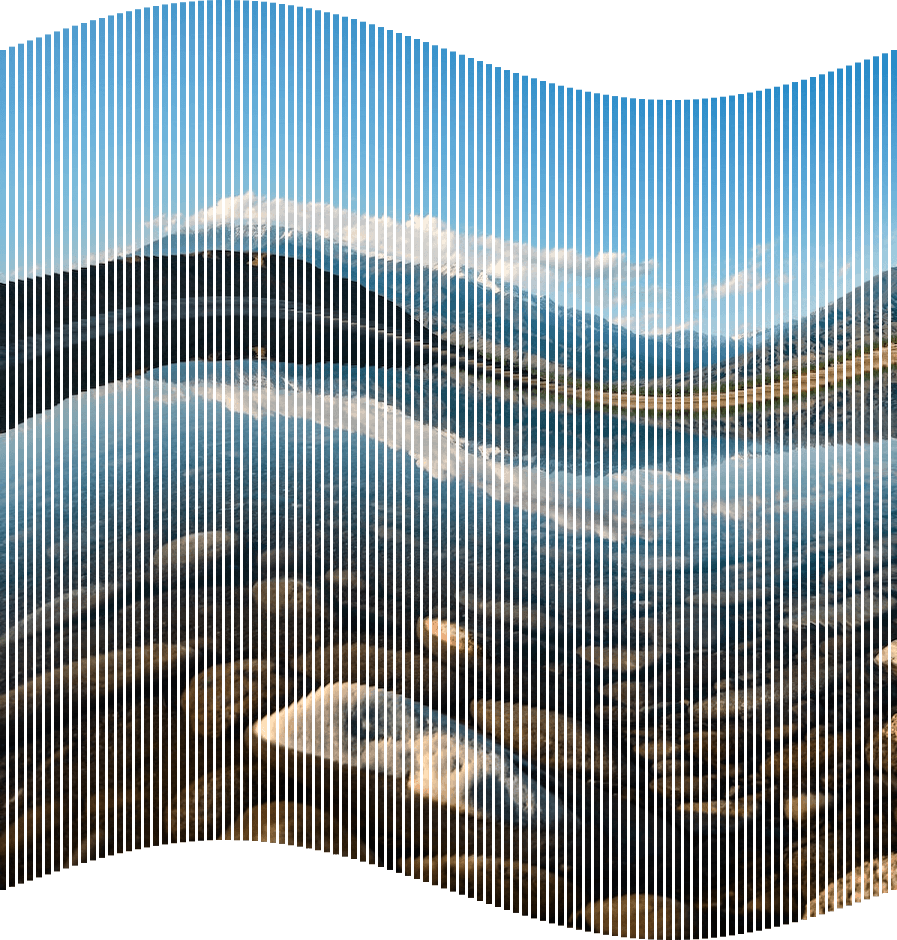
In this example, we slice the given landscape image into a hundred hair-thin vertical strips. We place these string-like strips at a distance of 3 pixels apart and then transform all of them into a large wave that follows a sinusoidal trajectory, reaching an amplitude of 100 pixels. (Source: Pexels.)
Edit images in your browser.
Place images on a grid so that they make a Fibonacci spiral.
Convert a PNG image to an ICO icon.
Convert an ICO icon to a PNG image.
Convert a PNG image to a TIFF image.
Convert a TIFF image to a PNG image.
Convert a JPEG image to an ICO icon.
Convert an ICO icon to a JPEG image.
Convert a JPEG image to a TIFF image.
Convert a TIFF image to a JPEG image.
Convert a GIF image to an ICO icon.
Convert an ICO icon to a GIF image.
Convert a GIF image to a TIFF image.
Convert a TIFF image to a GIF image.
Convert a GIF image to an APNG icon.
Convert an APNG image to a PNG image.
Convert a bitmap image to an ICO icon.
Convert an ICO icon to a bitmap image.
Convert a bitmap image to a TIFF image.
Convert a TIFF image to a bitmap image.
Convert a Webp image to an ICO icon.
Convert an ICO icon to a Webp image.
Convert a Webp image to a TIFF image.
Convert a TIFF image to a Webp image.
Create an animated GIF image from static frames.
Create an image from an B, G, R array.
Create an image from an R, G, B, A array.
Create an image from an B, G, R, A array.
Increase the quality of an image.
Decrease the quality of an image.
Remove the pixelation effect from an image.
Remove the blur effect from an image.
Apply OCR on an image and extract all text from it.
Erase text or label from an image.
Erase any object from an image.
Convert an image to a thumbnail
Convert a PNG, GIF, JPG or BMP to glitch art.
Let Zalgo destroy an image.
Change an image color space to HSL, HSV, CMYK, or RGB.
Change an image bit depth to 32, 24, 16, 8, 4, 2 bits or just 1 bit.
Create a mosaic wall from multiple images.
Create an ASCII art image from a regular image.
Create an ANSI art image from a regular image.
Create a Unicode art image from a regular image.
Create a Braille art image from a regular image.
Add a short one-line label to an image.
Remove a watermark from an image.
Create an image made out of dots of varying size and spacing.
Convert an image to a bunch of blocks.
Create a GIF from the original image with interlacing effect.
Subscribe to our updates. We'll let you know when we release new tools, features, and organize online workshops.
Enter your email here
We're Browserling — a friendly and fun cross-browser testing company powered by alien technology. At Browserling we love to make people's lives easier, so we created this collection of image editing tools. Our tools have the simplest user interface that doesn't require advanced computer skills and they are used by millions of people every month. Our image tools are actually powered by our web developer tools that we created over the last couple of years. Check them out!
