Free online image blur maker. Just drag and drop your image here and it will be automatically blurred. You can set the blur radius as well as adjust the area that should get the blur effect added. Created by engineers from team Browserling.
Free online image blur maker. Just drag and drop your image here and it will be automatically blurred. You can set the blur radius as well as adjust the area that should get the blur effect added. Created by engineers from team Browserling.

This tool allows you to blur a specific area of an image or the entire image. When you upload an image, the blur area will immediately appear in the preview window. You can adjust this area by using the mouse or entering numerical size values in the options. The blurred area is defined by four parameters: top position (distance from the top), left position (distance from the left side), width (width of the area in pixels), and height (height of the area in pixels). If you leave the top or left parameters empty, they will be set to zero. Similarly, if you leave the width or height parameters empty, they will be set to the maximum value. Once the area is selected, everything within it will acquire the blur effect. You can specify the strength of the blur effect in the blur-radius option. Depending on the size of your image, you may need to enter a different blur radius. For example, a 10-pixel radius may be suitable for a 600×400-pixel image, while an 80-pixel radius may be needed for a 2000×1400-pixel image. You can see a live preview of the blur effect in the output window. Additionally, you can download the blurred image by selecting the desired file extension in the options. The supported file extensions are JPG, PNG, and WebP. Image-abulous!
This tool allows you to blur a specific area of an image or the entire image. When you upload an image, the blur area will immediately appear in the preview window. You can adjust this area by using the mouse or entering numerical size values in the options. The blurred area is defined by four parameters: top position (distance from the top), left position (distance from the left side), width (width of the area in pixels), and height (height of the area in pixels). If you leave the top or left parameters empty, they will be set to zero. Similarly, if you leave the width or height parameters empty, they will be set to the maximum value. Once the area is selected, everything within it will acquire the blur effect. You can specify the strength of the blur effect in the blur-radius option. Depending on the size of your image, you may need to enter a different blur radius. For example, a 10-pixel radius may be suitable for a 600×400-pixel image, while an 80-pixel radius may be needed for a 2000×1400-pixel image. You can see a live preview of the blur effect in the output window. Additionally, you can download the blurred image by selecting the desired file extension in the options. The supported file extensions are JPG, PNG, and WebP. Image-abulous!
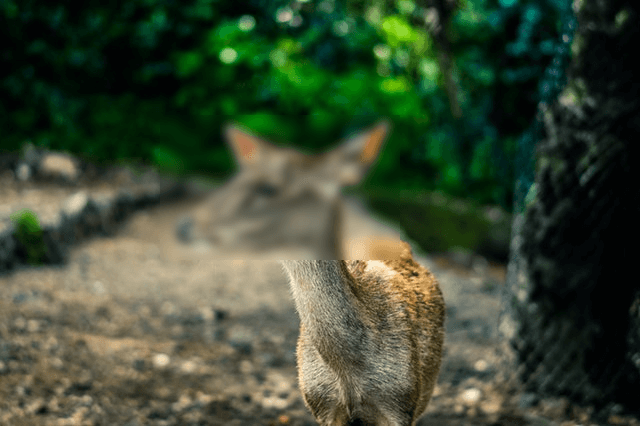
This example blurs the pixels within a specific area of the image. The area is defined by the position (120, 175) in the top-left corner and extends for 215 pixels in width and 140 pixels in height. Only the animal's face is blurred with the effect radius of 10 pixels, while the rest of the image remains unaffected. (Source: Pexels.)
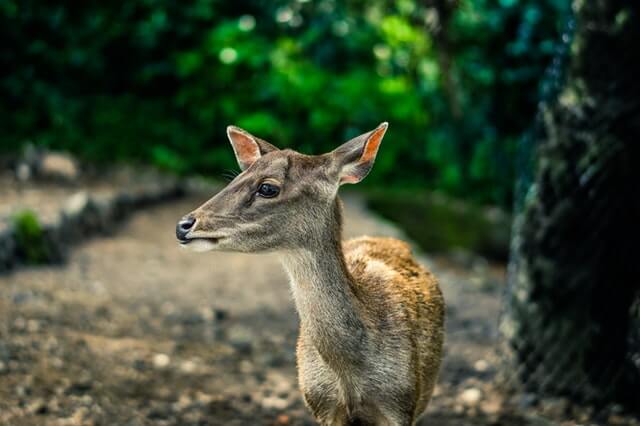
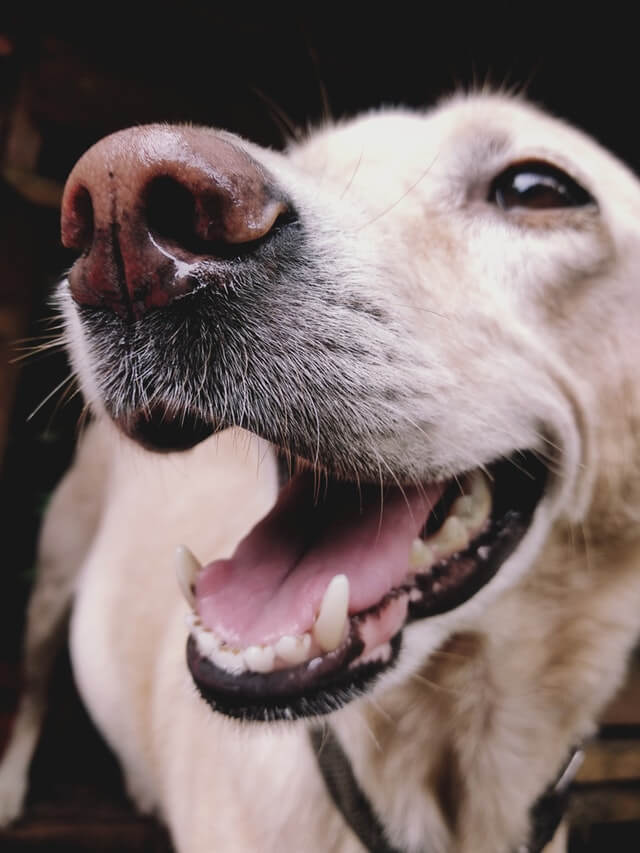
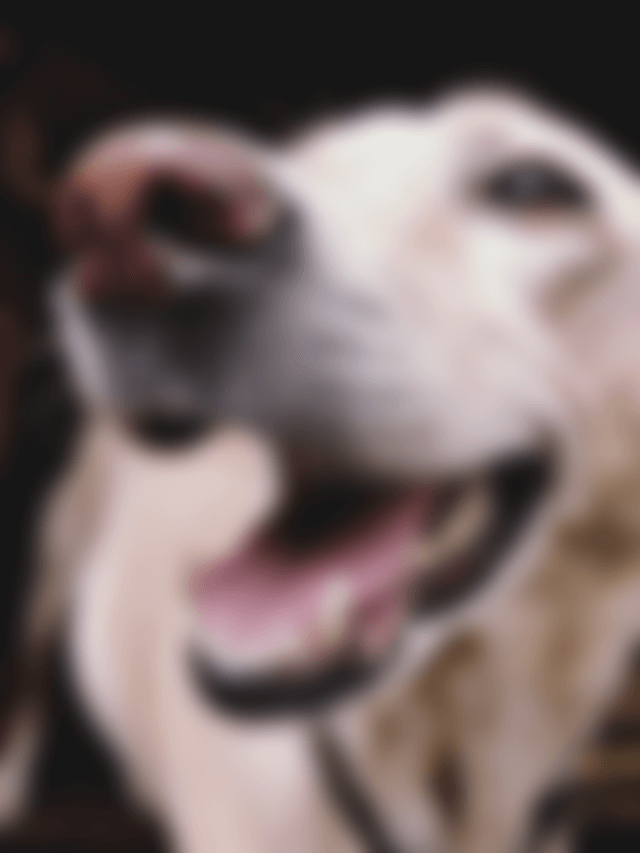
In this example, the top/left/width/height options have been intentionally omitted, allowing the entire image to acquire a blur effect. By setting the blur radius to 25 pixels, the image becomes imbued with a smooth and soft appearance. This radius value determines the extent to which the neighboring pixels are blended together. In this case, the chosen value results in a visually pleasing and subtly blurred rendition of the original image, giving it a touch of out-of-focus photography. (Source: Pexels.)
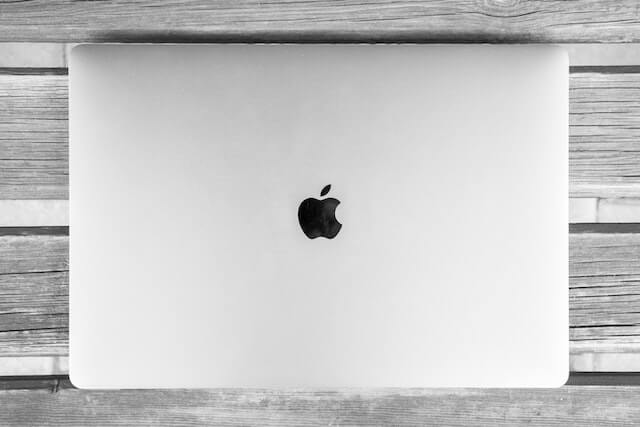
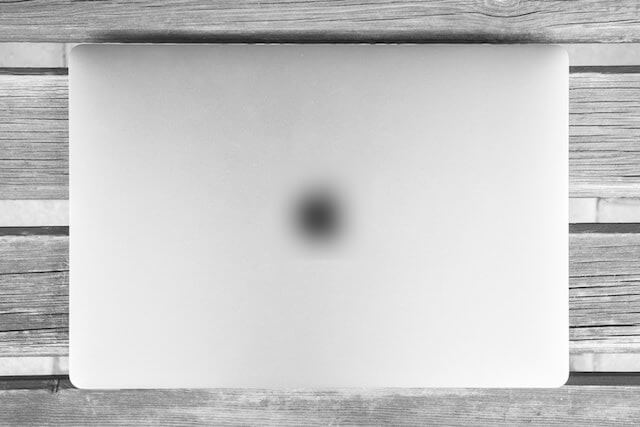
In this example, we utilize our image blur program to hide the Apple logo on a MacBook. We place the interactive square area measuring 100 by 100 pixels over the logo in the input preview and apply a blur effect with a radius of 30 pixels to it. As a result, we obtain an output image where the brand on the front cover of the laptop is concealed. (Source: Pexels.)
Edit images in your browser.
Place images on a grid so that they make a Fibonacci spiral.
Convert a PNG image to an ICO icon.
Convert an ICO icon to a PNG image.
Convert a PNG image to a TIFF image.
Convert a TIFF image to a PNG image.
Convert a JPEG image to an ICO icon.
Convert an ICO icon to a JPEG image.
Convert a JPEG image to a TIFF image.
Convert a TIFF image to a JPEG image.
Convert a GIF image to an ICO icon.
Convert an ICO icon to a GIF image.
Convert a GIF image to a TIFF image.
Convert a TIFF image to a GIF image.
Convert a GIF image to an APNG icon.
Convert an APNG image to a PNG image.
Convert a bitmap image to an ICO icon.
Convert an ICO icon to a bitmap image.
Convert a bitmap image to a TIFF image.
Convert a TIFF image to a bitmap image.
Convert a Webp image to an ICO icon.
Convert an ICO icon to a Webp image.
Convert a Webp image to a TIFF image.
Convert a TIFF image to a Webp image.
Create an animated GIF image from static frames.
Create an image from an B, G, R array.
Create an image from an R, G, B, A array.
Create an image from an B, G, R, A array.
Increase the quality of an image.
Decrease the quality of an image.
Remove the pixelation effect from an image.
Remove the blur effect from an image.
Apply OCR on an image and extract all text from it.
Erase text or label from an image.
Erase any object from an image.
Convert an image to a thumbnail
Convert a PNG, GIF, JPG or BMP to glitch art.
Let Zalgo destroy an image.
Change an image color space to HSL, HSV, CMYK, or RGB.
Change an image bit depth to 32, 24, 16, 8, 4, 2 bits or just 1 bit.
Create a mosaic wall from multiple images.
Create an ASCII art image from a regular image.
Create an ANSI art image from a regular image.
Create a Unicode art image from a regular image.
Create a Braille art image from a regular image.
Add a short one-line label to an image.
Remove a watermark from an image.
Create an image made out of dots of varying size and spacing.
Convert an image to a bunch of blocks.
Create a GIF from the original image with interlacing effect.
Subscribe to our updates. We'll let you know when we release new tools, features, and organize online workshops.
Enter your email here
We're Browserling — a friendly and fun cross-browser testing company powered by alien technology. At Browserling we love to make people's lives easier, so we created this collection of image editing tools. Our tools have the simplest user interface that doesn't require advanced computer skills and they are used by millions of people every month. Our image tools are actually powered by our web developer tools that we created over the last couple of years. Check them out!
