Free online text-to-image adder. Just drag and drop your image here and it will automatically get a text caption added to it. You can choose the color, size, and style of the caption, as well as change its position and alignment. Created by engineers from team Browserling.
Free online text-to-image adder. Just drag and drop your image here and it will automatically get a text caption added to it. You can choose the color, size, and style of the caption, as well as change its position and alignment. Created by engineers from team Browserling.

This tool adds text labels and captions to images. You can enter the necessary text in the options and once you upload the image, the text will be placed on top of your image. In the options, you can enter any color in any format for your text, such as "white", "black", "#ffff00", "RGB(0,128,0)", or use the attached color palette to conveniently select a color from the spectrum of all colors. Similarly, you can add a rectangular background of any color behind the text. The background fill color is often set to "transparent" or semi-transparent "rgba(0, 0, 0, 0.4)". The letter size can be specified in the "Font Size" option (in pixels) and if your text has multiple lines, then the vertical spacing between the lines can be adjusted in the "Line Height" option. The program offers a wide range of diverse fonts (such as Monospace, Serif, Sans-Serif, Arial, Helvetica, and more), as well as their italic and bold versions. You can also upload custom fonts to the program by switching to the "Custom Font" mode and loading a URL to the font (in ttf or woff formats). The text that you'll be adding can be placed anywhere on the image. For this, you can set the text box position options (the x and y coordinates for the starting point of the text box) and the text box dimension options (the width and height of the text box). To simplify things, you can adjust the text box interactively in the preview area by stretching and moving it with your mouse. The text inside the box can be aligned to the left, right, or center. Additionally, you can add a shadow to the text by using a special shadow format "x-offset y-offset blur color". For example, "2px 2px 3px black", will place a black shadow with a blur radius of 3 pixels at the location 2 pixels to the bottom-right of the text. Once you're done, you can download the final image in PNG, JPEG, or WebP formats. Image-abulous!
This tool adds text labels and captions to images. You can enter the necessary text in the options and once you upload the image, the text will be placed on top of your image. In the options, you can enter any color in any format for your text, such as "white", "black", "#ffff00", "RGB(0,128,0)", or use the attached color palette to conveniently select a color from the spectrum of all colors. Similarly, you can add a rectangular background of any color behind the text. The background fill color is often set to "transparent" or semi-transparent "rgba(0, 0, 0, 0.4)". The letter size can be specified in the "Font Size" option (in pixels) and if your text has multiple lines, then the vertical spacing between the lines can be adjusted in the "Line Height" option. The program offers a wide range of diverse fonts (such as Monospace, Serif, Sans-Serif, Arial, Helvetica, and more), as well as their italic and bold versions. You can also upload custom fonts to the program by switching to the "Custom Font" mode and loading a URL to the font (in ttf or woff formats). The text that you'll be adding can be placed anywhere on the image. For this, you can set the text box position options (the x and y coordinates for the starting point of the text box) and the text box dimension options (the width and height of the text box). To simplify things, you can adjust the text box interactively in the preview area by stretching and moving it with your mouse. The text inside the box can be aligned to the left, right, or center. Additionally, you can add a shadow to the text by using a special shadow format "x-offset y-offset blur color". For example, "2px 2px 3px black", will place a black shadow with a blur radius of 3 pixels at the location 2 pixels to the bottom-right of the text. Once you're done, you can download the final image in PNG, JPEG, or WebP formats. Image-abulous!
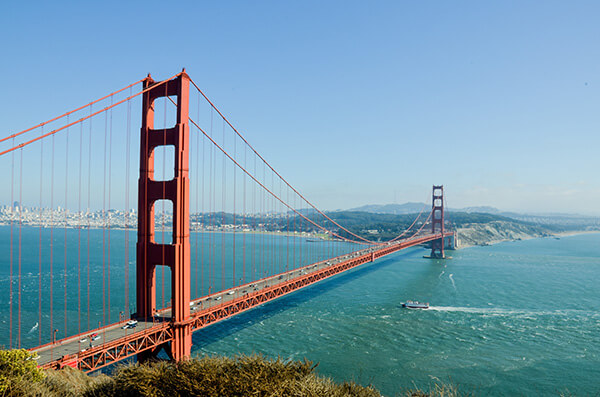
In this example, a label is added to the bottom right corner of an image of the Bay Bridge. The text color is set to red and an italic style is applied. The background color is set to 50% translucent black color. The font is set to Roboto with a size of 24px. The text box is positioned at coordinates (340, 342) and has a width of 250px and a height of 50px. (Source: Pexels.)
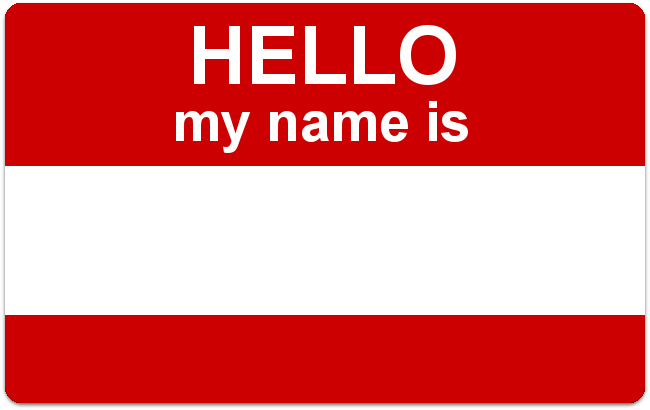
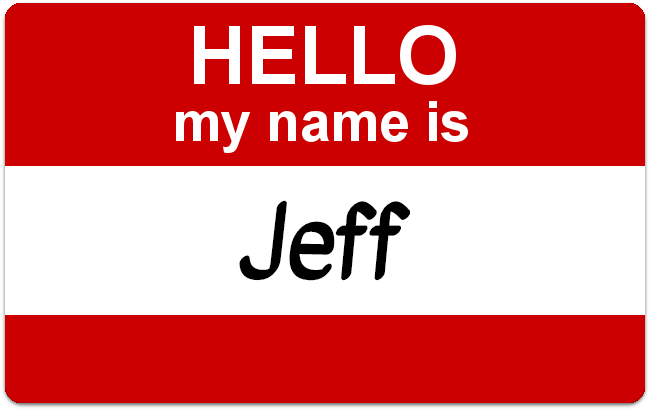
This example adds a name to the "Hello, my name is" card. It uses a handwritten open-source font called "Kavivanar" and it's loaded from the Google Fonts directory. Please note that custom fonts can take some time to load. If the font does not appear at first, try moving the label to update it. (Source: Pexels.)
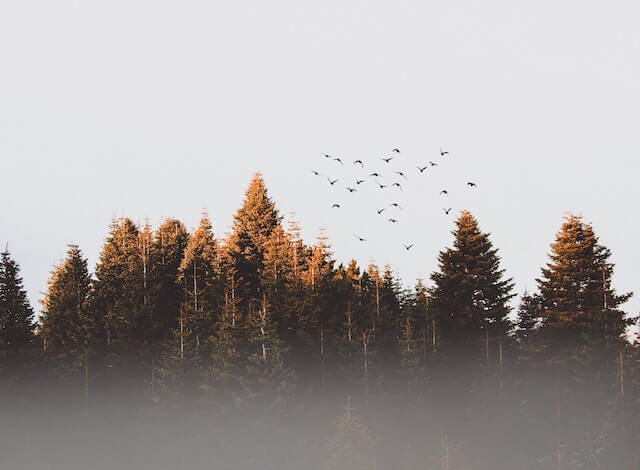
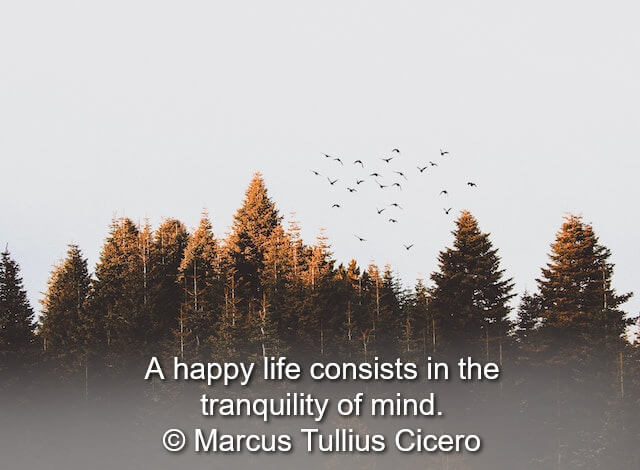
In this example, we add a profound quote by Marcus Tullius Cicero to an image of a flock of birds soaring over a pine forest. We write text in white color on a transparent background and drop a subtle shadow via the shadow-format "2px 2px 4px black". The text size is set to 30px with a line height being 36px and the font type that's used is Helvetica. It is horizontally aligned to the center and positioned at the bottom of the image. (Source: Pexels.)
Edit images in your browser.
Place images on a grid so that they make a Fibonacci spiral.
Convert a PNG image to an ICO icon.
Convert an ICO icon to a PNG image.
Convert a PNG image to a TIFF image.
Convert a TIFF image to a PNG image.
Convert a JPEG image to an ICO icon.
Convert an ICO icon to a JPEG image.
Convert a JPEG image to a TIFF image.
Convert a TIFF image to a JPEG image.
Convert a GIF image to an ICO icon.
Convert an ICO icon to a GIF image.
Convert a GIF image to a TIFF image.
Convert a TIFF image to a GIF image.
Convert a GIF image to an APNG icon.
Convert an APNG image to a PNG image.
Convert a bitmap image to an ICO icon.
Convert an ICO icon to a bitmap image.
Convert a bitmap image to a TIFF image.
Convert a TIFF image to a bitmap image.
Convert a Webp image to an ICO icon.
Convert an ICO icon to a Webp image.
Convert a Webp image to a TIFF image.
Convert a TIFF image to a Webp image.
Create an animated GIF image from static frames.
Create an image from an B, G, R array.
Create an image from an R, G, B, A array.
Create an image from an B, G, R, A array.
Increase the quality of an image.
Decrease the quality of an image.
Remove the pixelation effect from an image.
Remove the blur effect from an image.
Apply OCR on an image and extract all text from it.
Erase text or label from an image.
Erase any object from an image.
Convert an image to a thumbnail
Convert a PNG, GIF, JPG or BMP to glitch art.
Let Zalgo destroy an image.
Change an image color space to HSL, HSV, CMYK, or RGB.
Change an image bit depth to 32, 24, 16, 8, 4, 2 bits or just 1 bit.
Create a mosaic wall from multiple images.
Create an ASCII art image from a regular image.
Create an ANSI art image from a regular image.
Create a Unicode art image from a regular image.
Create a Braille art image from a regular image.
Add a short one-line label to an image.
Remove a watermark from an image.
Create an image made out of dots of varying size and spacing.
Convert an image to a bunch of blocks.
Create a GIF from the original image with interlacing effect.
Subscribe to our updates. We'll let you know when we release new tools, features, and organize online workshops.
Enter your email here
We're Browserling — a friendly and fun cross-browser testing company powered by alien technology. At Browserling we love to make people's lives easier, so we created this collection of image editing tools. Our tools have the simplest user interface that doesn't require advanced computer skills and they are used by millions of people every month. Our image tools are actually powered by our web developer tools that we created over the last couple of years. Check them out!
