Free online image censor. Just drag and drop your image here and it will be automatically censored. You can choose between three censoring methods and also customize the censoring area. Created by engineers from team Browserling.
Free online image censor. Just drag and drop your image here and it will be automatically censored. You can choose between three censoring methods and also customize the censoring area. Created by engineers from team Browserling.
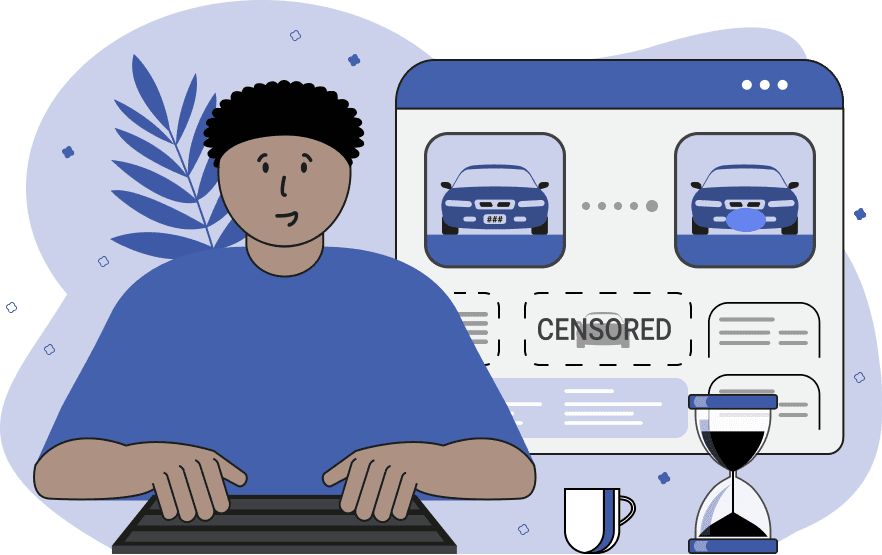
This tool effectively conceals confidential or personal content in an image, ensuring data privacy and anonymity. It supports three censoring methods: solid color fill, blurring effect, and pixelization effect. Let's explore each of them. The first method is the solid color fill effect. It is applied to the designated area on the image, completely hiding the content beneath it. You have the option to choose the fill color to seamlessly integrate with the image's content. The second censoring effect is blurring. Use this option to create a blurring effect in the selected area, making details indistinct. You can adjust the blur strength; the higher the blur strength, the more difficult it is to recognize information behind the blur. The third censoring effect is pixelization. It divides the selected area into large, coarse pixels, concealing information behind them. In this mode, you can specify the pixel size, controlling the level of distortion in the selected area. Each of these censoring methods is applied strictly within the boundaries of the selected rectangular area. You can adjust the area in the input preview or specify it in the options using position parameters (X and Y coordinates) and dimension parameters (width and height). Additionally, you can choose the download format for the censored image, switching between PNG, JPEG, or WebP formats. Image-abulous!
This tool effectively conceals confidential or personal content in an image, ensuring data privacy and anonymity. It supports three censoring methods: solid color fill, blurring effect, and pixelization effect. Let's explore each of them. The first method is the solid color fill effect. It is applied to the designated area on the image, completely hiding the content beneath it. You have the option to choose the fill color to seamlessly integrate with the image's content. The second censoring effect is blurring. Use this option to create a blurring effect in the selected area, making details indistinct. You can adjust the blur strength; the higher the blur strength, the more difficult it is to recognize information behind the blur. The third censoring effect is pixelization. It divides the selected area into large, coarse pixels, concealing information behind them. In this mode, you can specify the pixel size, controlling the level of distortion in the selected area. Each of these censoring methods is applied strictly within the boundaries of the selected rectangular area. You can adjust the area in the input preview or specify it in the options using position parameters (X and Y coordinates) and dimension parameters (width and height). Additionally, you can choose the download format for the censored image, switching between PNG, JPEG, or WebP formats. Image-abulous!
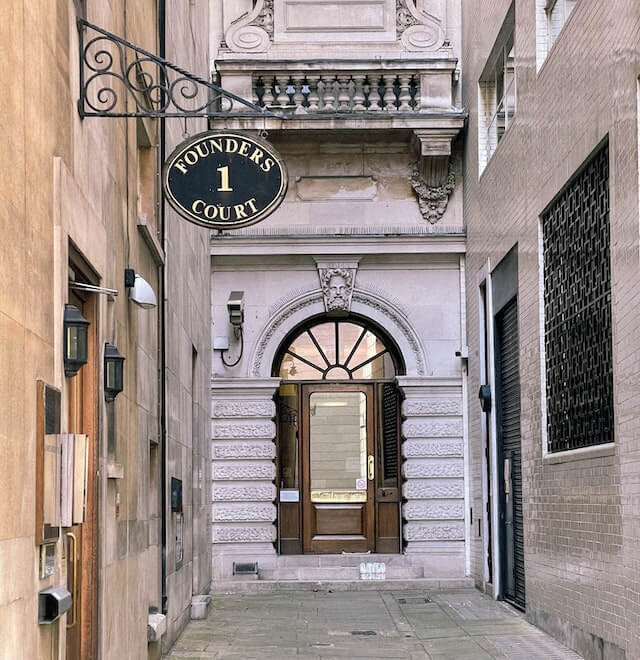
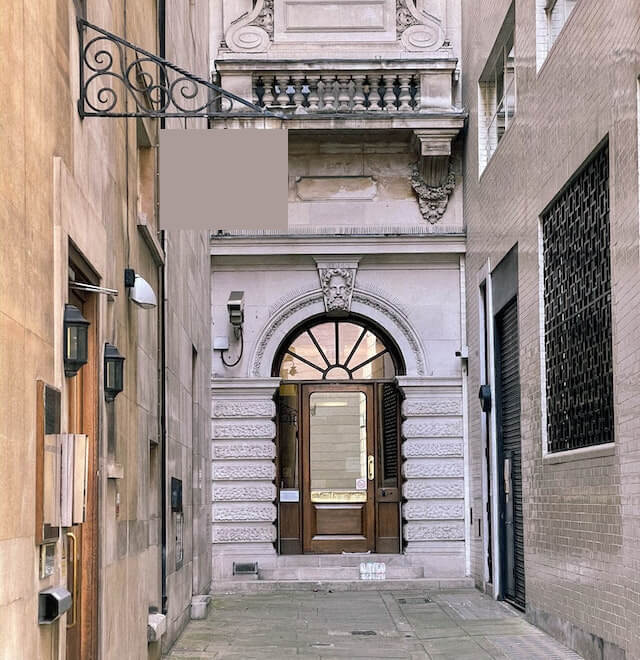
In this example, we conceal the home address and the street where this photograph was taken. We apply the most effective censoring method – color fill. We use a gray color, similar to the one used in building structures, to ensure the address fill blends harmoniously within the photo. (Source: Pexels.)
In this example, we share a vibrant image from the kitchen of our restaurant. To avoid revealing all the ingredients of our head chef's signature dish, we apply a blurring effect to half of the ingredients on the plate. We set the blur strength to 35 and censor the yellow pepper, chili, garlic, and onion. (Source: Pexels.)
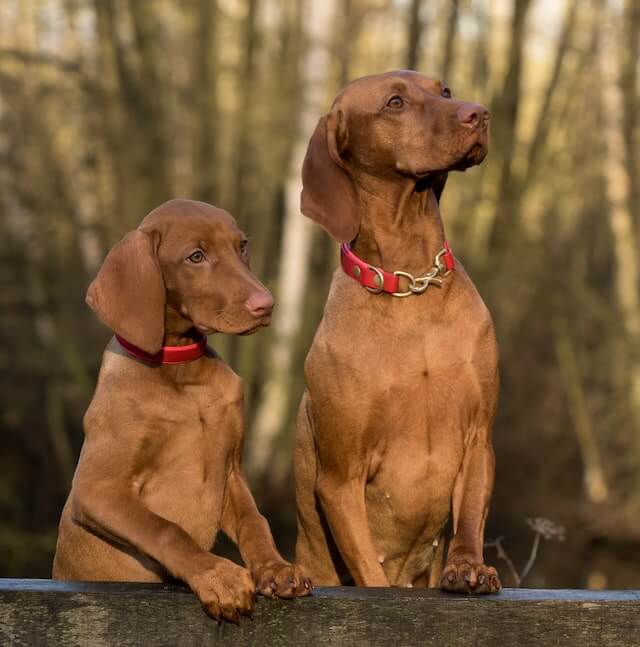
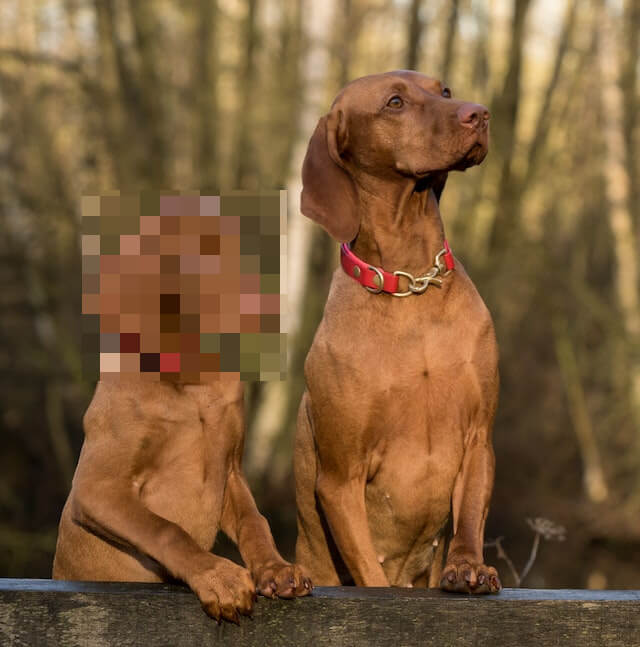
In this photo, taken during a professional photoshoot, one of the two dogs preferred to remain incognito. To share the photo on social media while preserving the anonymity of one of the dogs, we apply a pixelization effect to the dog on the left. We use a pixel size of 20, which effectively conceals the facial features of the dog. (Source: Pexels.)
Edit images in your browser.
Place images on a grid so that they make a Fibonacci spiral.
Convert a PNG image to an ICO icon.
Convert an ICO icon to a PNG image.
Convert a PNG image to a TIFF image.
Convert a TIFF image to a PNG image.
Convert a JPEG image to an ICO icon.
Convert an ICO icon to a JPEG image.
Convert a JPEG image to a TIFF image.
Convert a TIFF image to a JPEG image.
Convert a GIF image to an ICO icon.
Convert an ICO icon to a GIF image.
Convert a GIF image to a TIFF image.
Convert a TIFF image to a GIF image.
Convert a GIF image to an APNG icon.
Convert an APNG image to a PNG image.
Convert a bitmap image to an ICO icon.
Convert an ICO icon to a bitmap image.
Convert a bitmap image to a TIFF image.
Convert a TIFF image to a bitmap image.
Convert a Webp image to an ICO icon.
Convert an ICO icon to a Webp image.
Convert a Webp image to a TIFF image.
Convert a TIFF image to a Webp image.
Create an animated GIF image from static frames.
Create an image from an B, G, R array.
Create an image from an R, G, B, A array.
Create an image from an B, G, R, A array.
Increase the quality of an image.
Decrease the quality of an image.
Remove the pixelation effect from an image.
Remove the blur effect from an image.
Apply OCR on an image and extract all text from it.
Erase text or label from an image.
Erase any object from an image.
Convert an image to a thumbnail
Convert a PNG, GIF, JPG or BMP to glitch art.
Let Zalgo destroy an image.
Change an image color space to HSL, HSV, CMYK, or RGB.
Change an image bit depth to 32, 24, 16, 8, 4, 2 bits or just 1 bit.
Create a mosaic wall from multiple images.
Create an ASCII art image from a regular image.
Create an ANSI art image from a regular image.
Create a Unicode art image from a regular image.
Create a Braille art image from a regular image.
Add a short one-line label to an image.
Remove a watermark from an image.
Create an image made out of dots of varying size and spacing.
Convert an image to a bunch of blocks.
Create a GIF from the original image with interlacing effect.
Subscribe to our updates. We'll let you know when we release new tools, features, and organize online workshops.
Enter your email here
We're Browserling — a friendly and fun cross-browser testing company powered by alien technology. At Browserling we love to make people's lives easier, so we created this collection of image editing tools. Our tools have the simplest user interface that doesn't require advanced computer skills and they are used by millions of people every month. Our image tools are actually powered by our web developer tools that we created over the last couple of years. Check them out!
