This free online tool lets you add the pixelation effect to a WebP image. Just load your WebP image in the input editor, and you'll instantly get a pixelated WebP image in the output editor. You can also fine-tune the pixelation area in the options by changing its shape to a rectangle or an oval, setting the pixelation block size, setting the precise pixelation coordinates, or pixelating the entire WebP all at once. Created by team Browserling.
This free online tool lets you add the pixelation effect to a WebP image. Just load your WebP image in the input editor, and you'll instantly get a pixelated WebP image in the output editor. You can also fine-tune the pixelation area in the options by changing its shape to a rectangle or an oval, setting the pixelation block size, setting the precise pixelation coordinates, or pixelating the entire WebP all at once. Created by team Browserling.
With this online tool, you can add a pixelation effect to your WebP images. The pixelation effect allows you to hide text, faces, and personal information in a WebP. It can also be used to create artistic retro effects, create glitch art, or highlight a specific WebP area. In the options, you can adjust the shape and position of the pixelation effect, as well as define the pixel block size. The shape of the pixelation area can be either rectangular, square, or oval. To specify the position of the pixelation area, you can set the position of its upper left corner and specify the width and height of the area. If you leave the position empty, then the program will automatically set it to the upper-left corner. If you leave the width or height option empty, the program will automatically select the entire WebP. Finally, you can adjust the pixelation level via the block size option. A larger block size merges more pixels together, creating a more pronounced pixelation, which allows you to hide details in your WebP. Webp-abulous!
With this online tool, you can add a pixelation effect to your WebP images. The pixelation effect allows you to hide text, faces, and personal information in a WebP. It can also be used to create artistic retro effects, create glitch art, or highlight a specific WebP area. In the options, you can adjust the shape and position of the pixelation effect, as well as define the pixel block size. The shape of the pixelation area can be either rectangular, square, or oval. To specify the position of the pixelation area, you can set the position of its upper left corner and specify the width and height of the area. If you leave the position empty, then the program will automatically set it to the upper-left corner. If you leave the width or height option empty, the program will automatically select the entire WebP. Finally, you can adjust the pixelation level via the block size option. A larger block size merges more pixels together, creating a more pronounced pixelation, which allows you to hide details in your WebP. Webp-abulous!
In this example, we apply a pixelation effect to a rectangular area of a transparent WebP image showing assorted spices on spoons. Our goal is to conceal the super secret ingredient that we use in our signature dish. To do it, we set the pixelation block size to 20 pixels and create the pixelated rectangle at coordinates (14, 169) with a width of 164 pixels and a height of 236 pixels. (Source: Pexels.)
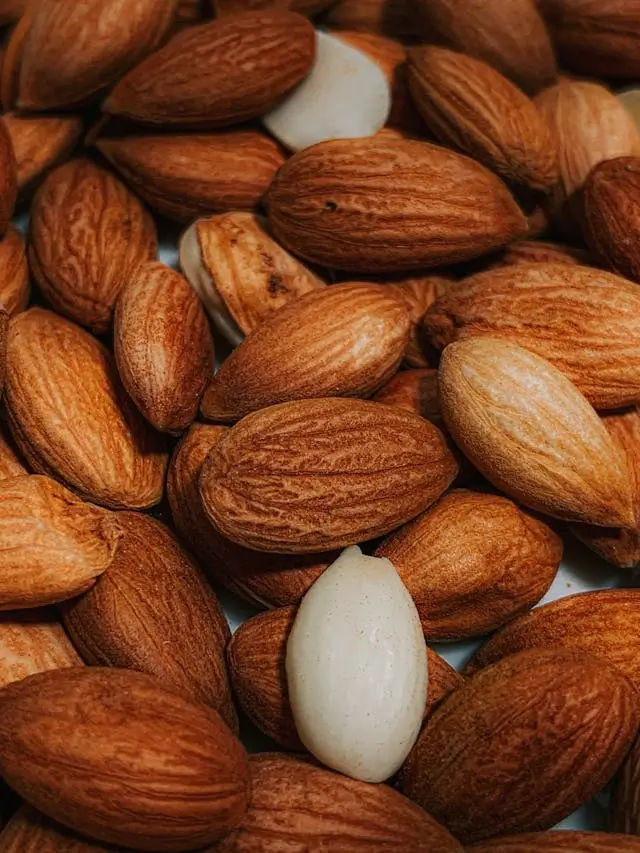
In this example, we convert all pixels in a WebP image into large pixel blocks. We also demonstrate the quick auto-fill option for the pixelation area. We set the pixel block size to 40px and leave the position and size options empty, allowing the program to automatically select and fill the entire WebP. As a result, we obtain a Minecraft-like WebP, fully covered in a pixel mosaic, obscuring a pile of almonds. (Source: Pexels.)
In this example, we use an oval-shaped pixelation for a WebP photo of a beagle dog. The oval shape covers the dog's elongated head and creates a pixel grid with a cell size of 30px. Thus, the dog's identity is concealed, and the dog's owner can share the photo on social media without privacy concerns. (Source: Pexels.)
Edit WebP images in your browser.
Convert a WebP animation to an APNG animation.
Convert an APNG animation to a WebP animation.
Convert a WebP animation to a GIF animation.
Convert a GIF animation to a WebP animation.
Extract all frames from a WebP animation.
Convert a WebP animation to an MP4 video.
Convert an MP4 video to a WebP animation.
Convert a WebP animation to a WebM video.
Convert a WebM video to a WebP animation.
Find the difference between two or more WebP images.
Reduce the file size of a WebP image.
View the metadata information of a WebP image.
Remove all metadata information from a WebP image.
Edit the metadata information of a WebP image.
Play WebP animations frame by frame.
Extract one or more frames from a WebP animation.
Create a WebP animation from a sprite sheet.
Create a sprite sheet from a WebP animation.
View WebP images and in your browser.
Subscribe to our updates. We'll let you know when we release new tools, features, and organize online workshops.
Enter your email here
We're Browserling — a friendly and fun cross-browser testing company powered by alien technology. At Browserling we love to make people's lives easier, so we created this collection of WebP editing tools. Our tools have the simplest user interface that doesn't require advanced computer skills and they are used by millions of people every month. Our WebP tools are actually powered by our web developer tools that we created over the last couple of years. Check them out!


