This free online tool lets you add artifacts to a WebP image. Just load your WebP image in the input editor, and you'll instantly get a WebP image with artifacts in the output editor. In the options, you can choose between generating native WebP or Zalgo-like compression artifacts and adjust the quality loss level. You can also select either the entire WebP or a smaller area within the WebP that should be distorted. Created by team Browserling.
This free online tool lets you add artifacts to a WebP image. Just load your WebP image in the input editor, and you'll instantly get a WebP image with artifacts in the output editor. In the options, you can choose between generating native WebP or Zalgo-like compression artifacts and adjust the quality loss level. You can also select either the entire WebP or a smaller area within the WebP that should be distorted. Created by team Browserling.

With this online tool, you can add compression artifacts to your WebP images. The program simulates distortions that occur during WebP compression. The artifacts and distortions appear as blocks, streaks, blurring, and other visual defects. Zalgo artifacts usually manifest as pixel blocks, halos around objects, and general loss of detail. WebP artifacts also appear as blocks, but they're typically less pronounced and more evenly distributed across the image compared to Zalgo artifacts. In the tool options, you can choose between generating WebP artifacts or generating Zalgo artifacts. For each method, you can adjust the level of distortion created. It ranges from 0% to 100%, with higher levels resulting in more quality loss and distortions. WebP artifacts become visible at around 92% quality loss, while Zalgo artifacts become visible already at 65%. You can set the area to which the distortions will be applied by using the options or the input editor. To set the area in the options, specify the area's position by entering its distance from the left and top corners and its width and height. To specify the area in the input editor, click on the area, move it to the desired position, and adjust its width and height by dragging its edges. Webp-abulous!
With this online tool, you can add compression artifacts to your WebP images. The program simulates distortions that occur during WebP compression. The artifacts and distortions appear as blocks, streaks, blurring, and other visual defects. Zalgo artifacts usually manifest as pixel blocks, halos around objects, and general loss of detail. WebP artifacts also appear as blocks, but they're typically less pronounced and more evenly distributed across the image compared to Zalgo artifacts. In the tool options, you can choose between generating WebP artifacts or generating Zalgo artifacts. For each method, you can adjust the level of distortion created. It ranges from 0% to 100%, with higher levels resulting in more quality loss and distortions. WebP artifacts become visible at around 92% quality loss, while Zalgo artifacts become visible already at 65%. You can set the area to which the distortions will be applied by using the options or the input editor. To set the area in the options, specify the area's position by entering its distance from the left and top corners and its width and height. To specify the area in the input editor, click on the area, move it to the desired position, and adjust its width and height by dragging its edges. Webp-abulous!
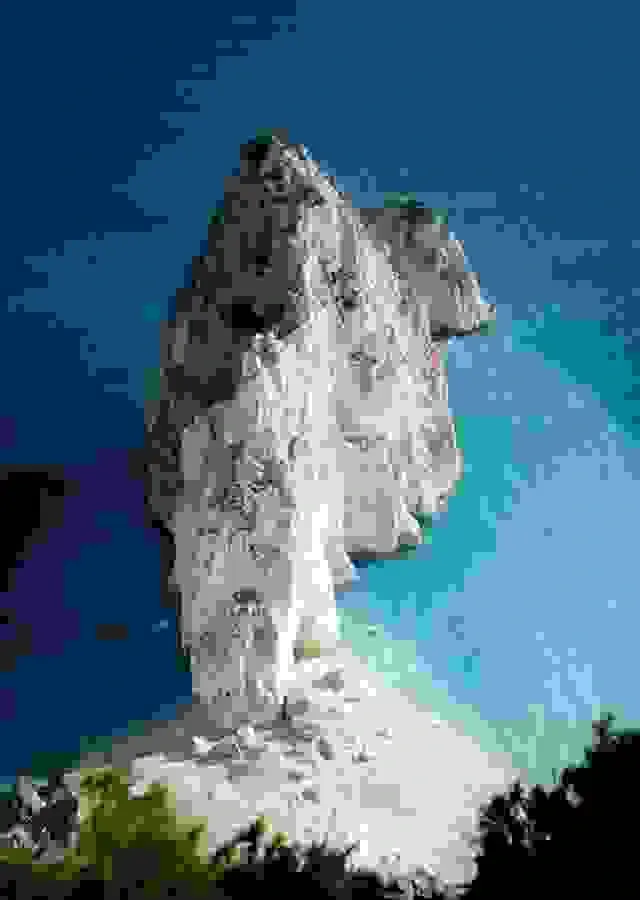
In this example, we add artifacts to the entire WebP image of a rocky cliff on a seashore. To cover the whole WebP, we leave the position and size options of the distortion area empty, which selects the entire WebP. We set the artifact damage level to the maximum "100%", resulting in severe distortions and pixelation characteristics of high-level Zalgo-like compression. (Source: Pexels.)
In this example, we apply WebP artifacts to a specific area of a WebP photo of asparagus. We select the lower half of the WebP and add artifacts with a destruction level of 100%. As a result, the lower part of the WebP becomes distorted and blocky, which is typical of WebP compression. (Source: Pexels.)
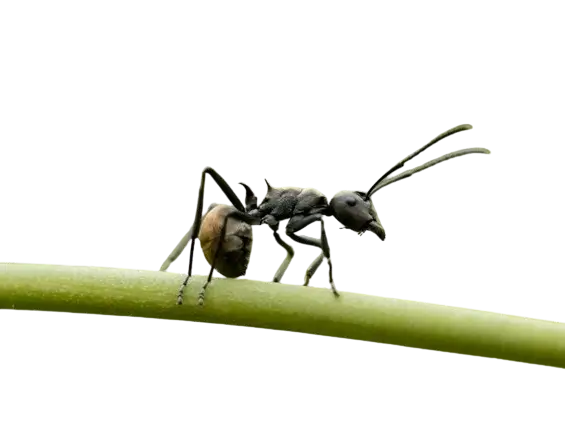
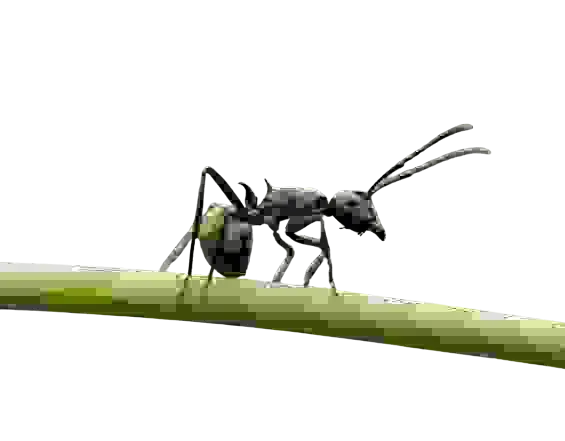
In this example, we load a WebP sticker of an ant with a transparent background and apply the artifact filter with a strength of 98% to it. Despite the transparent background, all non-transparent pixels become pixelated, leading to reduced resolution and loss of details. (Source: Pexels.)
Edit WebP images in your browser.
Convert a WebP animation to an APNG animation.
Convert an APNG animation to a WebP animation.
Convert a WebP animation to a GIF animation.
Convert a GIF animation to a WebP animation.
Extract all frames from a WebP animation.
Convert a WebP animation to an MP4 video.
Convert an MP4 video to a WebP animation.
Convert a WebP animation to a WebM video.
Convert a WebM video to a WebP animation.
Find the difference between two or more WebP images.
Reduce the file size of a WebP image.
View the metadata information of a WebP image.
Remove all metadata information from a WebP image.
Edit the metadata information of a WebP image.
Play WebP animations frame by frame.
Extract one or more frames from a WebP animation.
Create a WebP animation from a sprite sheet.
Create a sprite sheet from a WebP animation.
View WebP images and in your browser.
Subscribe to our updates. We'll let you know when we release new tools, features, and organize online workshops.
Enter your email here
We're Browserling — a friendly and fun cross-browser testing company powered by alien technology. At Browserling we love to make people's lives easier, so we created this collection of WebP editing tools. Our tools have the simplest user interface that doesn't require advanced computer skills and they are used by millions of people every month. Our WebP tools are actually powered by our web developer tools that we created over the last couple of years. Check them out!


