This free online tool lets you optimize the size and quality of a WebP image. Just load your WebP image in the input editor, and you'll instantly get an optimized WebP image in the output editor. In the tool settings, you can fine-tune the optimization process by adjusting the WebP quality level from 0% to 100%, as well as reducing the dimensions of the WebP to make it smaller in size. Created by team Browserling.
This free online tool lets you optimize the size and quality of a WebP image. Just load your WebP image in the input editor, and you'll instantly get an optimized WebP image in the output editor. In the tool settings, you can fine-tune the optimization process by adjusting the WebP quality level from 0% to 100%, as well as reducing the dimensions of the WebP to make it smaller in size. Created by team Browserling.

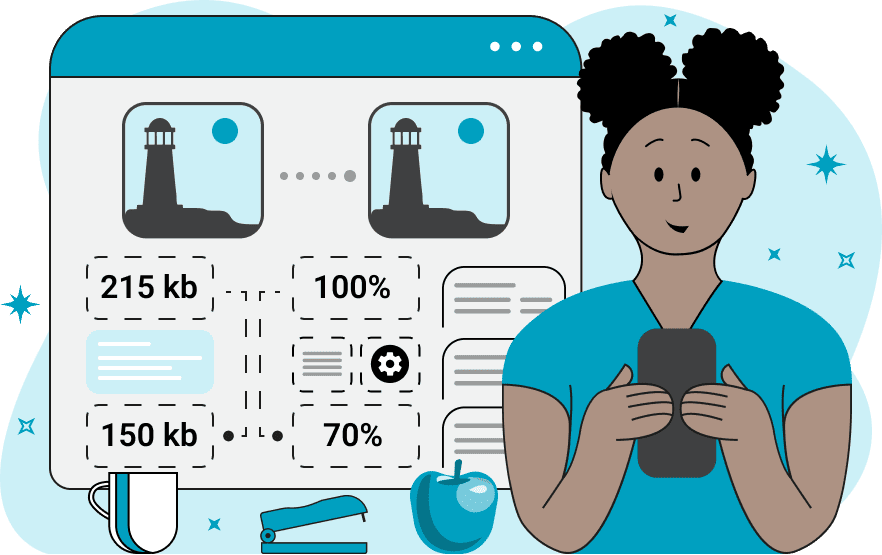
With this online tool, you can optimize your WebP images. The program is designed to reduce the size of your WebP files while maintaining high visual quality. It currently offers two optimization methods (and we're working on more methods, which are coming soon). The first method reduces the size of WebP files by decreasing their quality. To optimize WebP using this method, set the new quality in the options from 0% to 100%, and you'll see the resulting WebP in the output editor. The value of 100% means the original quality (no change) and anything less than 100% (0% to 99%) will reduce the quality. For example, by changing the quality to 80%, the WebP will lose about 20% of its quality and a little bit of file size. This range from 0% to 100% can be divided into three quality change levels – slight change, moderate change, and significant change. When the quality is slightly reduced (set to 80% or 70%), the WebP retains all of its detail and looks identical to the original. With moderate quality reduction (to 40% or 30%), the WebP may appear slightly less sharp than the original. Significant quality reduction (to 0% or close to it) can cause defects in the WebP, such as blurriness, loss of detail, or blockiness. By default, the program uses a quality level of 75%, which typically does not affect the visual characteristics of the WebP and reduces the file size by about 30% on average. The second optimization method is resizing. If your WebP file is very large, the simplest way to reduce its size is to decrease its dimensions. The program allows you to specify the dimensions reduction parameter in the options. Similar to the quality parameter, the original WebP always has 100% size and anything less than 100% will reduce its size proportionally by that amount. For example, by entering the value of 80%, the WebP size will be reduced by 20%, and to halve the size, use the value of 50%. When resizing a WebP, you can enable the "Maintain Smoothness" checkbox to preserve smooth textures in it, or you can deactivate it to get sharper pixels in the downsized WebP (which is useful in pixel art). In the informative section of the options, you can find the size of the optimized WebP and compare it with the original. This section also shows the optimization ratio, indicating by how much the file size has been reduced. Webp-abulous!
With this online tool, you can optimize your WebP images. The program is designed to reduce the size of your WebP files while maintaining high visual quality. It currently offers two optimization methods (and we're working on more methods, which are coming soon). The first method reduces the size of WebP files by decreasing their quality. To optimize WebP using this method, set the new quality in the options from 0% to 100%, and you'll see the resulting WebP in the output editor. The value of 100% means the original quality (no change) and anything less than 100% (0% to 99%) will reduce the quality. For example, by changing the quality to 80%, the WebP will lose about 20% of its quality and a little bit of file size. This range from 0% to 100% can be divided into three quality change levels – slight change, moderate change, and significant change. When the quality is slightly reduced (set to 80% or 70%), the WebP retains all of its detail and looks identical to the original. With moderate quality reduction (to 40% or 30%), the WebP may appear slightly less sharp than the original. Significant quality reduction (to 0% or close to it) can cause defects in the WebP, such as blurriness, loss of detail, or blockiness. By default, the program uses a quality level of 75%, which typically does not affect the visual characteristics of the WebP and reduces the file size by about 30% on average. The second optimization method is resizing. If your WebP file is very large, the simplest way to reduce its size is to decrease its dimensions. The program allows you to specify the dimensions reduction parameter in the options. Similar to the quality parameter, the original WebP always has 100% size and anything less than 100% will reduce its size proportionally by that amount. For example, by entering the value of 80%, the WebP size will be reduced by 20%, and to halve the size, use the value of 50%. When resizing a WebP, you can enable the "Maintain Smoothness" checkbox to preserve smooth textures in it, or you can deactivate it to get sharper pixels in the downsized WebP (which is useful in pixel art). In the informative section of the options, you can find the size of the optimized WebP and compare it with the original. This section also shows the optimization ratio, indicating by how much the file size has been reduced. Webp-abulous!
In this example, we start with a 24.5kb WebP image of three painted eggs. To achieve a smaller file size with minimal visual change, we set the new quality to 80%. This results in a file size of 16.5kb. (Source: Pexels.)
In this example, we significantly optimize the WebP photo of a cat resting on a basket chair. The original WebP has the file size of 73.7kb and to make it smaller, we reduce the quality to 60% and resize the WebP to 70% of its original size. This leads to a substantial reduction in file size to 25.7kb while maintaining acceptable WebP quality for most use cases. (Source: Pexels.)
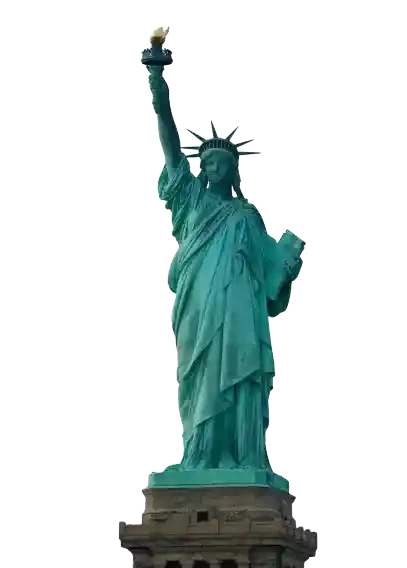
In this example, we apply an optimization algorithm to a WebP sticker of the Statue of Liberty on a transparent background. Typically, WebP stickers with transparency already have smaller file sizes due to the large number of identical transparent pixels. However, to reduce the size even further of this WebP, we lower the quality to 40%, which turns the 26.1kb sticker into an 18.1kb sticker. (Source: Pexels.)
Edit WebP images in your browser.
Convert a WebP animation to an APNG animation.
Convert an APNG animation to a WebP animation.
Convert a WebP animation to a GIF animation.
Convert a GIF animation to a WebP animation.
Extract all frames from a WebP animation.
Convert a WebP animation to an MP4 video.
Convert an MP4 video to a WebP animation.
Convert a WebP animation to a WebM video.
Convert a WebM video to a WebP animation.
Find the difference between two or more WebP images.
Reduce the file size of a WebP image.
View the metadata information of a WebP image.
Remove all metadata information from a WebP image.
Edit the metadata information of a WebP image.
Play WebP animations frame by frame.
Extract one or more frames from a WebP animation.
Create a WebP animation from a sprite sheet.
Create a sprite sheet from a WebP animation.
View WebP images and in your browser.
Subscribe to our updates. We'll let you know when we release new tools, features, and organize online workshops.
Enter your email here
We're Browserling — a friendly and fun cross-browser testing company powered by alien technology. At Browserling we love to make people's lives easier, so we created this collection of WebP editing tools. Our tools have the simplest user interface that doesn't require advanced computer skills and they are used by millions of people every month. Our WebP tools are actually powered by our web developer tools that we created over the last couple of years. Check them out!


